


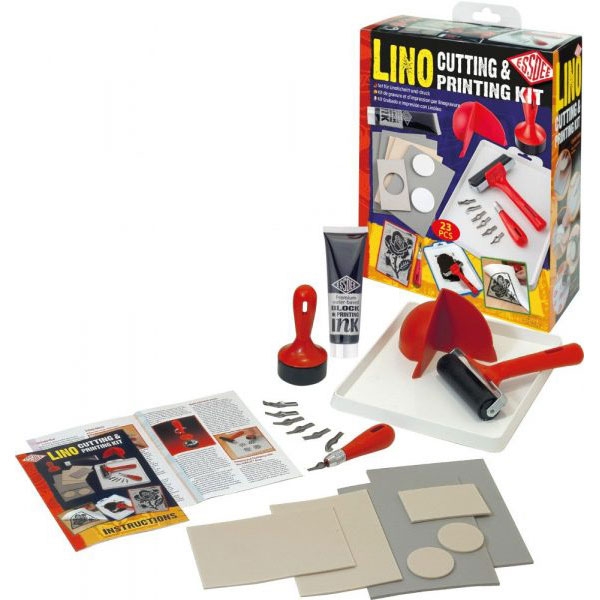
If you're looking for a way to add some handmade magic to your projects, the Essdee Lino Cutting & Printing Kit is exactly what you need!
It's all-in-one, beginner-friendly, and versatile enough to evolve into something more — from cards and tags to small product lines you can sell.
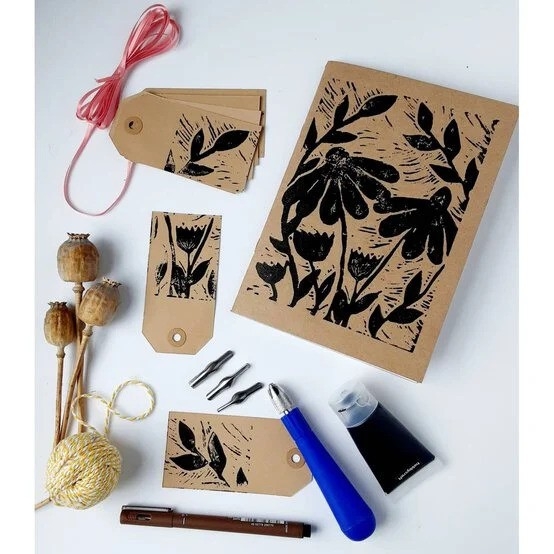
What you can create (quickly):
- Handmade cards & gift tags that will really make a difference!
- Prints for frames & art prints for your home or as gifts
- Custom patterns on tote bags (using fabric ink)
- Stamps and embellishments for scrapbooking, journaling or your art journal
Now let me show you how easy it is with a simple, step-by-step tutorial...
You will need - Materials from the kit:
- The carving surface / SoftCut
- Carving blades
- Brayer & ink tray
- Block printing ink
- Baren (it is the pressing tool)
- Test paper & final paper
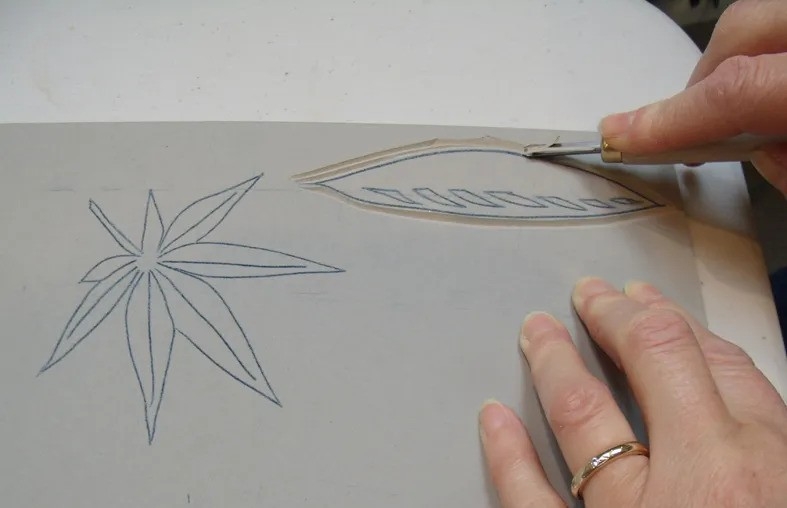
Step 1 — Sketch
Choos a simple pattern (leaf, heart, star, or geometric shape). Draw it first on paper.
Step 2 — Transfer to the surface
Transfer the design upside down (if it includes text) or copy it with a pencil.
Step 3 — Start carving
Carefully cut out the outer edges first. Keep the tool at an angle and remove small accounts of material at a time - it's better to take it slow than to cut too deep all at once.
Safety tip: hold the surface steady and be careful with your fingers while cutting.
Step 4 — Check your drawing
Try this: apply a small amount of ink to the tray, spread it evenly with the roller, and gently press it onto a piece of paper.
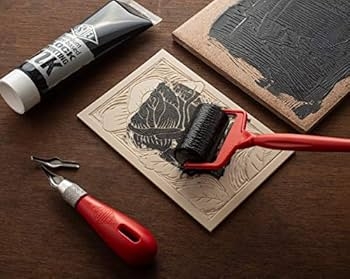
Step 5 — Inking & printing
Spread the ink evenly on the brayer roller. Cover your design with the paper, then press lightly with the baren until the ink transfers to the paper. Carefully lift the paper to see the result.
Step 6 — Correcting & experimenting
If needed, make adjustments to your carving or try using less/more ink. You can also experiment with layered prints (multiple colors) by waiting for each layer to dry before adding the next.
Step 7 — Cleaning
Immediately clean the roller, tray, and tools with warm water and soap before the ink dries.
So, isn’t it much easier than you thought? I’ll also give you some Tips & Tricks to help you perfect your prints...
--> Start with single-color, simple patterns for a clean result.
--> Try varying the pressure with the baren — different areas may need different amounts of pressure.
--> Use plain paper for your tests before printing on your ‘good’ paper.
--> If you want color on fabric, make sure the ink is suitable for textiles (find the right fabric inks here).
--> Combine prints with scrap material (chipboard, stencils, die cuts) for multi-layering layouts.
It's one of my favorite hobbies — but it's also a hobby that can easily turn into something more! For example, create small collections of cards and sell them at local markets or online. Host workshops for friends or small groups — people love hands-on classes. Turn your favorite designs into products like tote bags, calendars, or prints, and build a micro-brand...
Don’t you agree that the Essdee Lino Cutting & Printing Kit is more than just a kit — it's a gateway to a world where each design becomes unique and handcrafted? If you're looking for something that breaks away from your usual projects and takes you down a more creative path — this kit is an excellent starting point.
That’s all from me.
Artistic kisses, and see you again next week!


