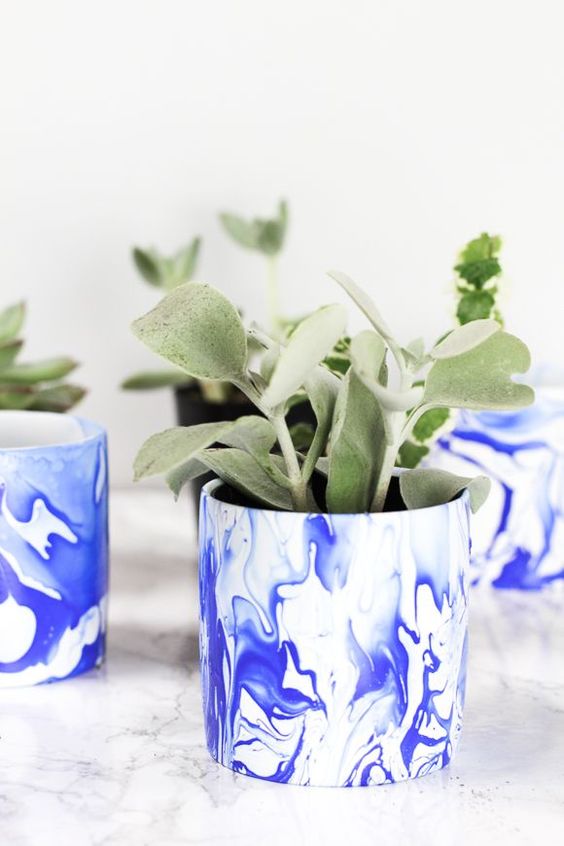
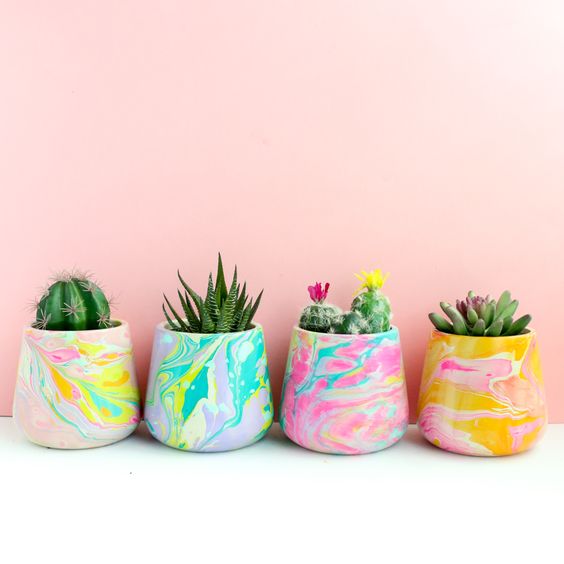
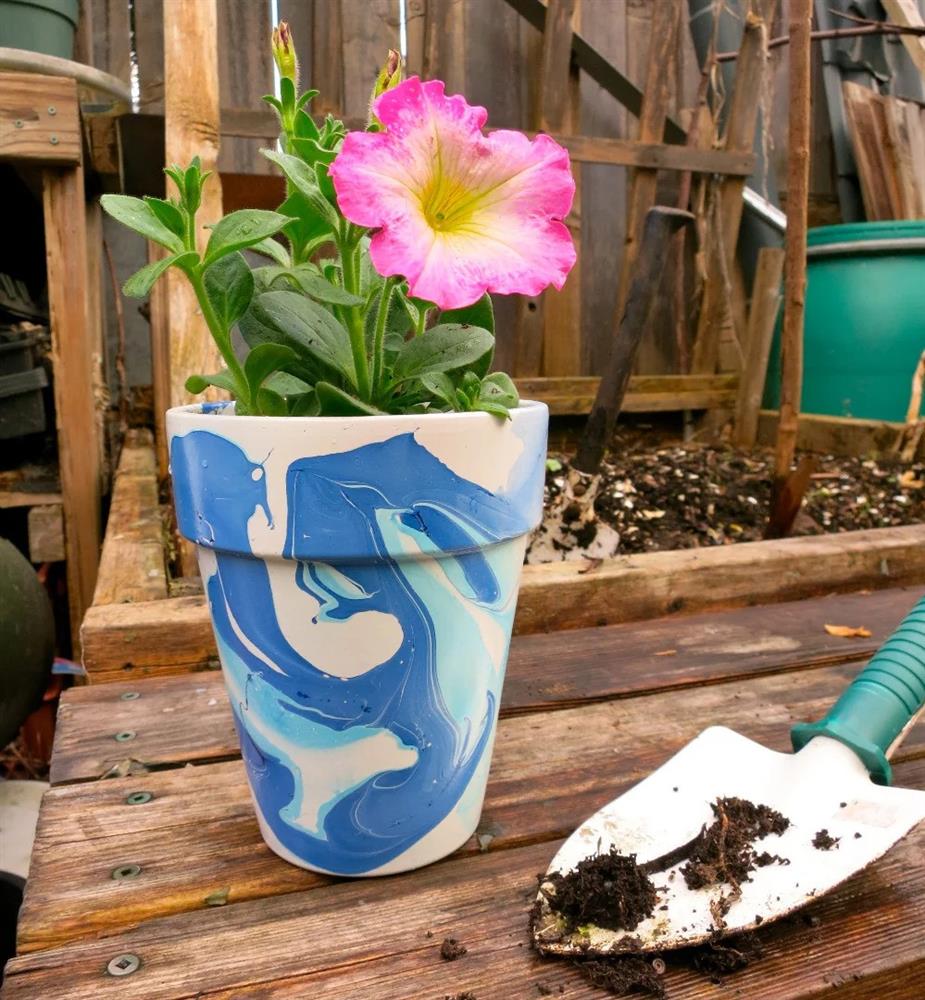
The marbling technique has been a form of artistic and cultural expression in Central and East Asia since the 12th century.
Creating with the marbling technique is as enjoyable as watching it unfold and it is to actually create. That's why today we’re excited to share a wonderful idea using DecoArt Water Marbling Paint: crafting stunning marble designs on clay pots or ceramic items. This water marbling method allows you to create vibrant, colorful patterns that can beautifully transform your balcony or garden!

Ready?
Steps for creating a design on a flowerpot:
Prepare water: Fill a large container with room-temperature water and add the special DecoArt medium. The container should be large enough to fully submerge your pot.
Add the colors: Drop some DecoArt Water Marbling Paint onto the water surface. The colors will spread out and form unique patterns. You can use a special comb or a marbling stick to drag lines or swirl the colors for more variety in your designs.
Clean the pot: Make sure the pot is clean, free from dust, oils, or dirt. You can wipe it down with a damp cloth or wash it with soap and water, then allow it to dry completely.
Sand the surface of the pot (optional): If the pot has a glossy finish, you can lightly sand it with fine-grit sandpaper to create a slightly rough surface, which will help the paint adhere better.
Dip the pot: Slowly and carefully dip the pot into water, allowing the colors to adhere to its surface. Make sure the entire surface of the pot comes into contact with the "painted" water.
Let it dry: After removing the pot from the water, allow it to dry completely. If needed, you can repeat the process to add more layers of color or to fill any gaps.
Seal the design (optional): For added durability and to protect the design, you can apply a coat of clear varnish.
 \
\
For this technique, it's important to choose the right pot to achieve the best result. Here are some suggestions:
Ceramic or clay pot:
- Ideal Choice: These pots are perfect for this technique, as they absorb the paint well and provide a great base for the design.
- Benefits: Their matte texture helps the colors adhere properly, making the design appear more vibrant and sharp.
Glossy ceramic pot:
- Also a Good Choice: You can use glossy ceramic pots, but you’ll need to lightly sand them or apply a primer before starting, to help the paint stick better.
- Benefits: Glossy surfaces can give the final design a more polished look, but they require more preparation.
Plastic or metal pot:
- Less Suitable Option: While you can try this technique on plastic or metal pots, these materials don’t offer the best paint adhesion. If you use these materials, applying a primer specifically designed for plastic or metal is essential before starting.
- Benefits: With the right primer, the design can still be durable on these surfaces, though results may vary.
4. Glass pot:
- For Special Occasions: Glass pots provide a stunning base for marble designs, but paint adhesion can be more challenging. If you choose this option, using a special primer for glass will help improve the adhesion.
Tip: Whatever pot you choose, ensure that the surface is clean, dry, and dust-oil-free before starting the marbling technique. This will ensure that the colors adhere properly and the design remains beautiful and durable.

I hope we’ve inspired you to try the amazing marbling technique! It’s truly a fun creative activity, and the outcome is never the same!
See you next week!
Until then,
Artistic kisses


