


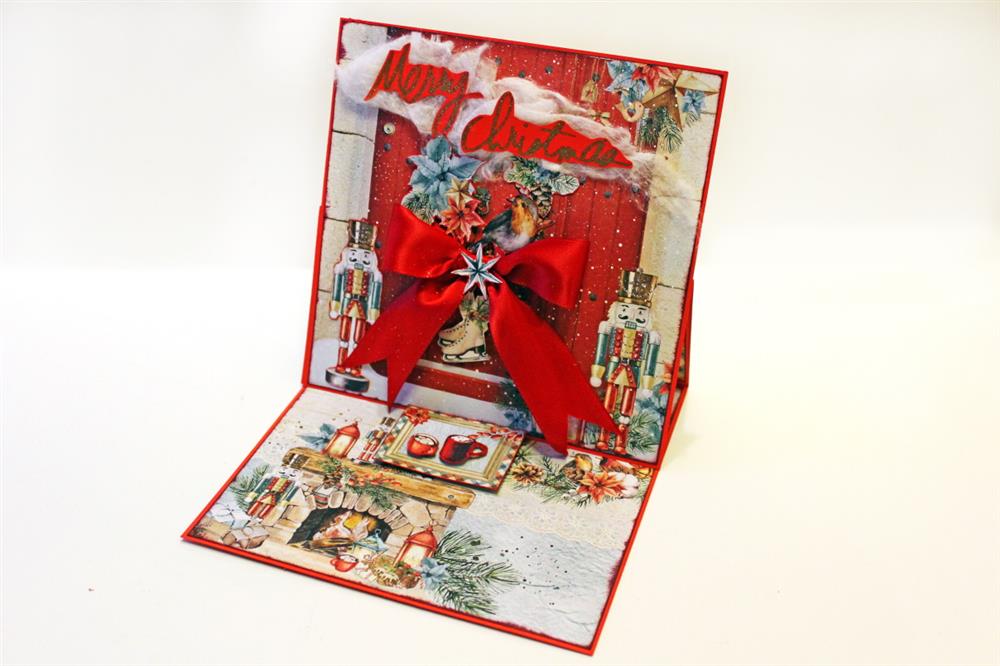
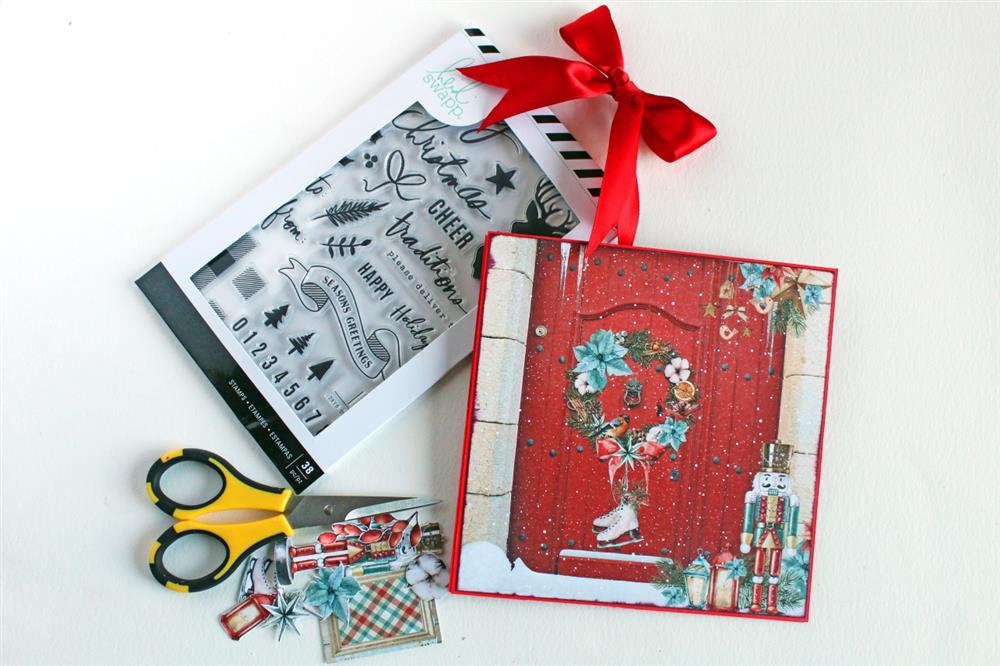
Cards are a special way to show your love, especially at Christmas. So following the festive spirit, we give you some guidelines on how to make an Easel Christmas card designed by Nicoleta Papasaranti, and wish to your beloved in a truly unique way!
Directions:
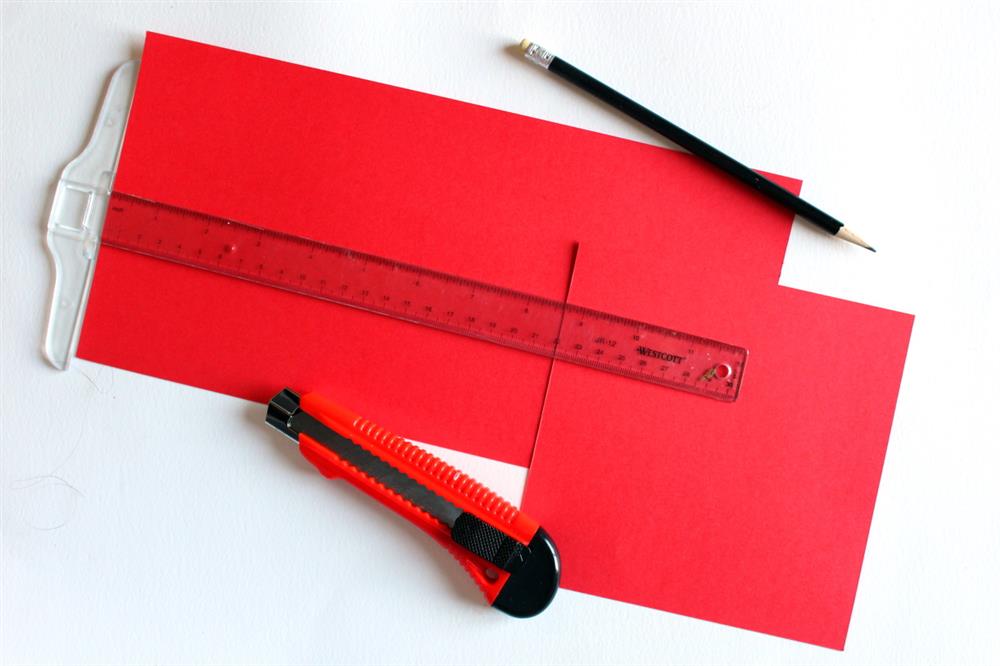
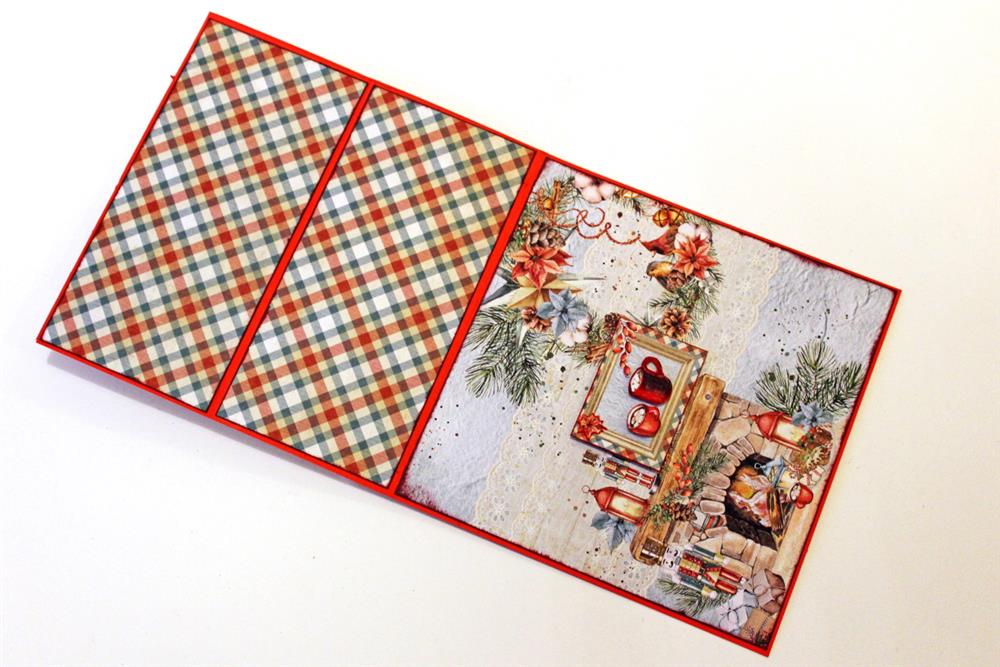
For the base:
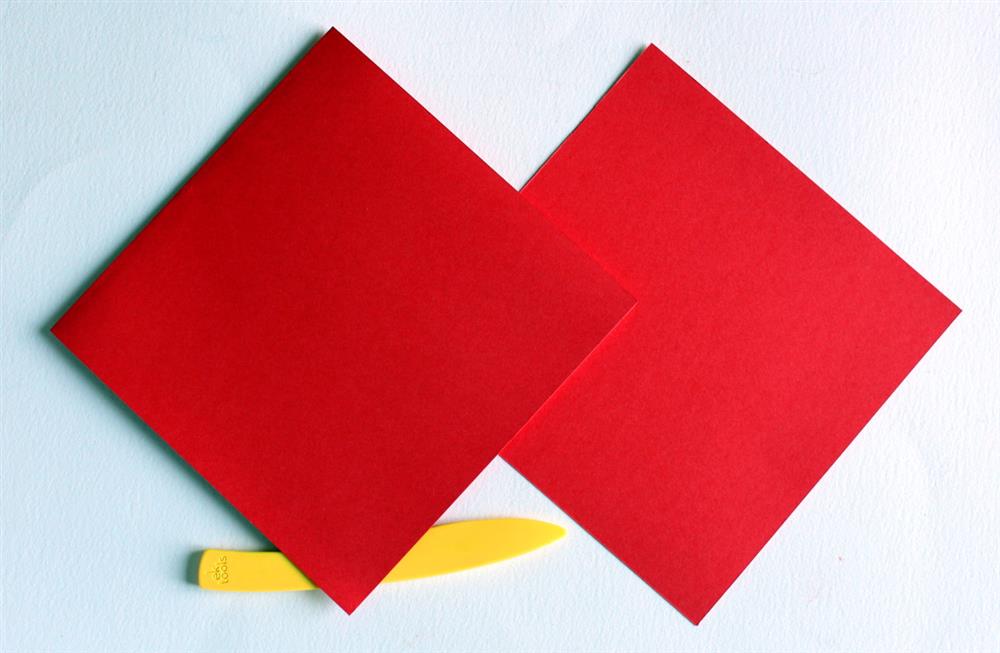
Cut two pieces of red or black cardstock to the following dimensions:
a.6” x 6”
b. 6” x 12”
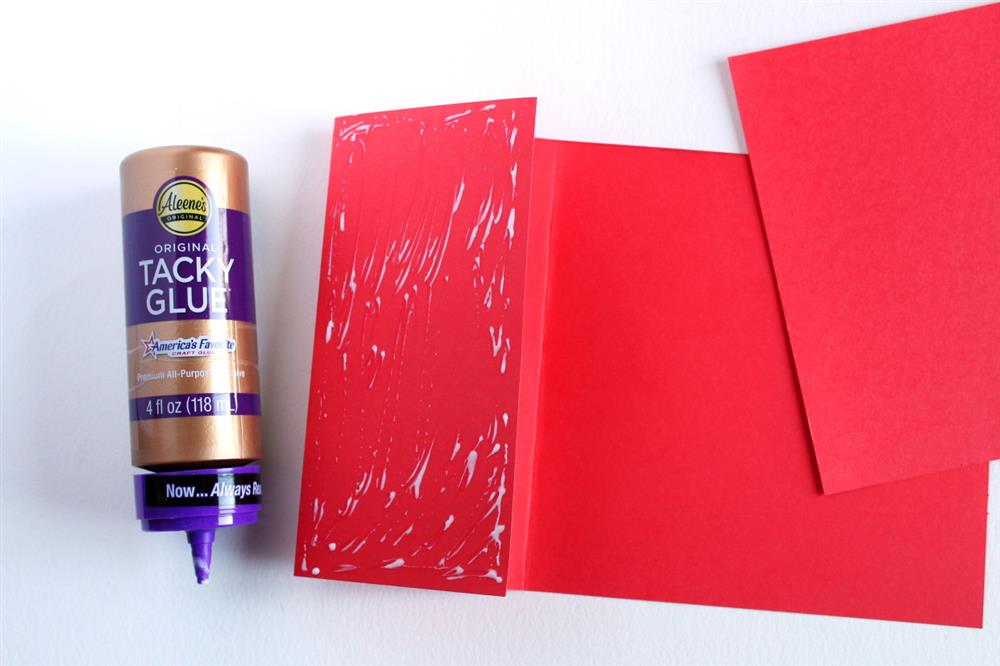
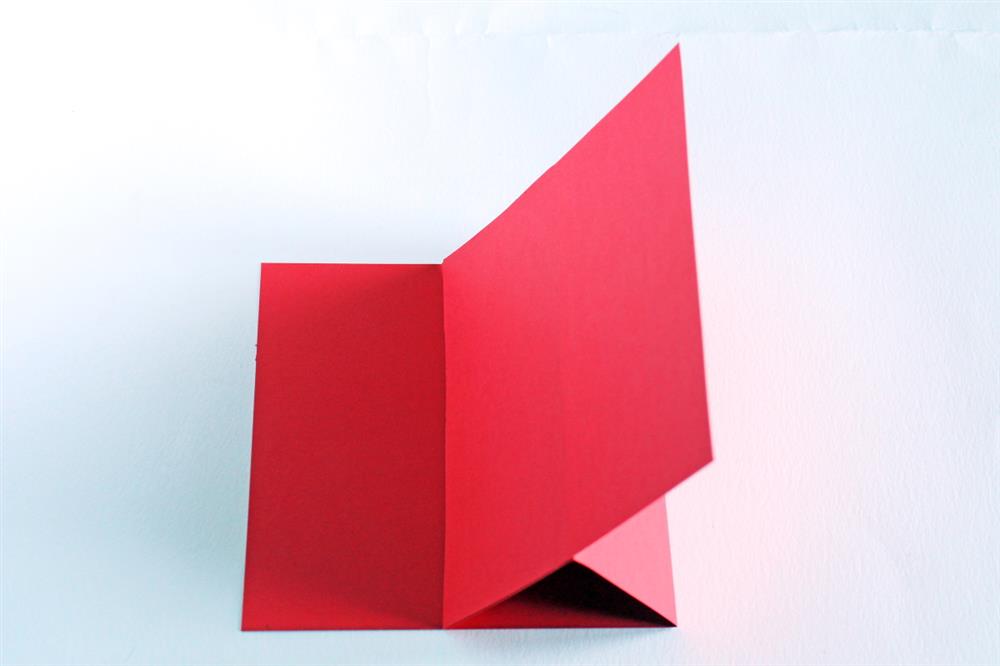
2. Create the square base by folding the second piece in half and then folding the other half inward again.
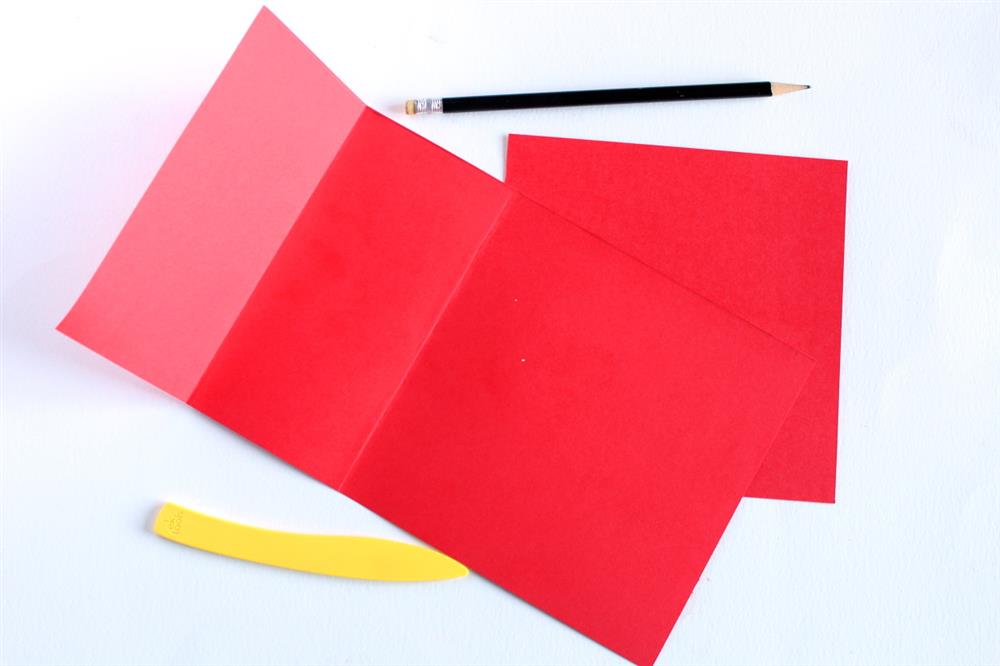
3. Glue the second piece of the cardstock base to the outer piece of your folded paper. The card should stand open, so it is necessary to stick it properly in order to line up the piece with the base of the card.
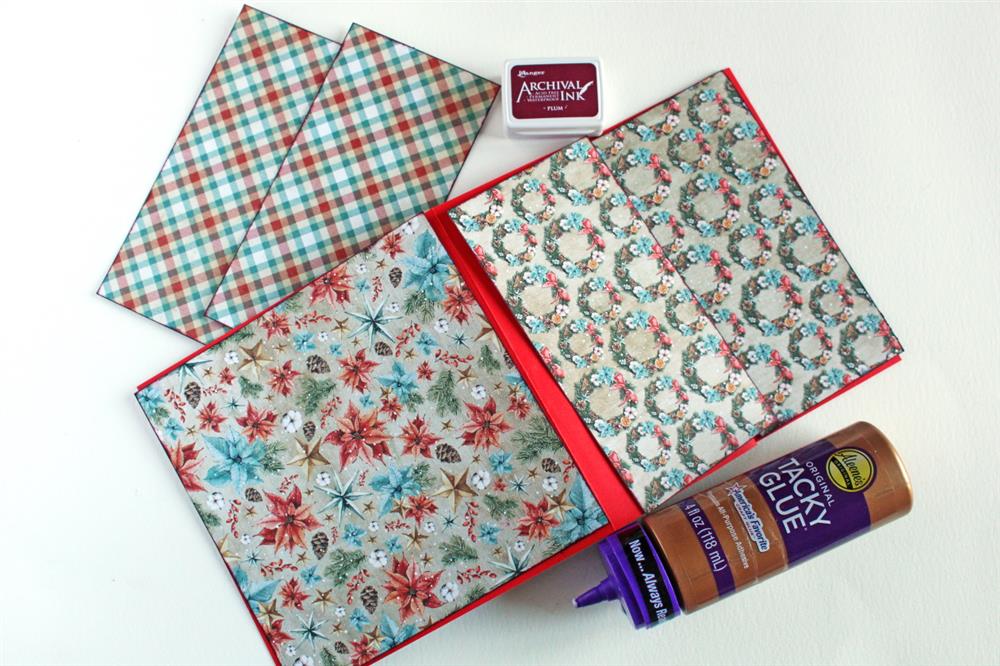
4. Glue scrapbooking papers along all the sides of the base. The size of the card is such that it will fit exactly on one 6” x 6” (15 x 15 cm) paper taken from a paper pad. On the short sides, simply cut the scrapbooking paper in half.
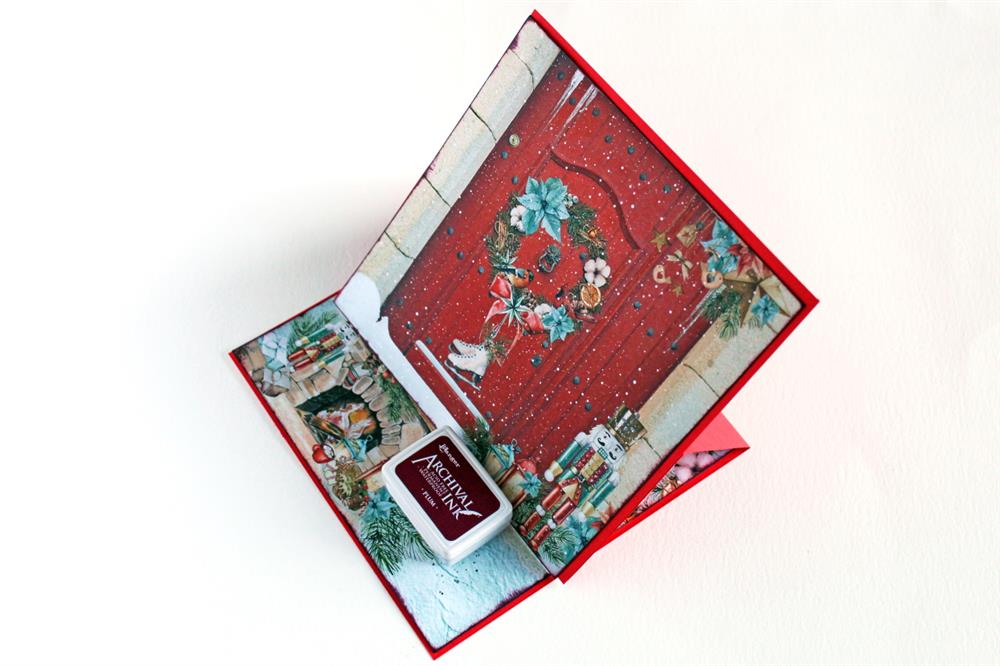
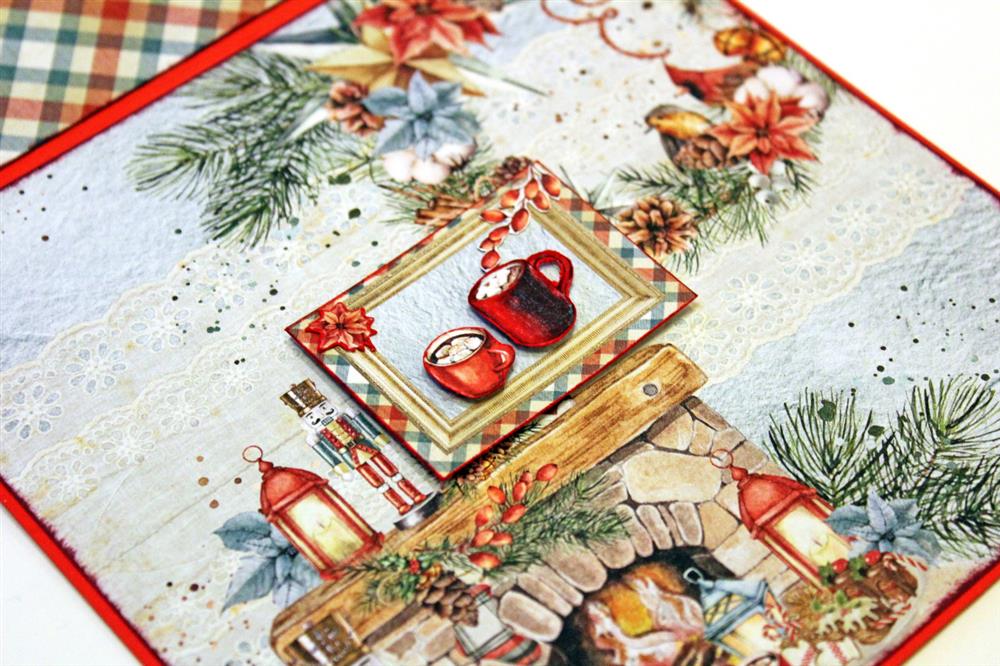
5. Decorate your card as you wish. Remember that scrapbooking collections always have relevant embellishments and ephemera, so decorating is actually easier and prettier!
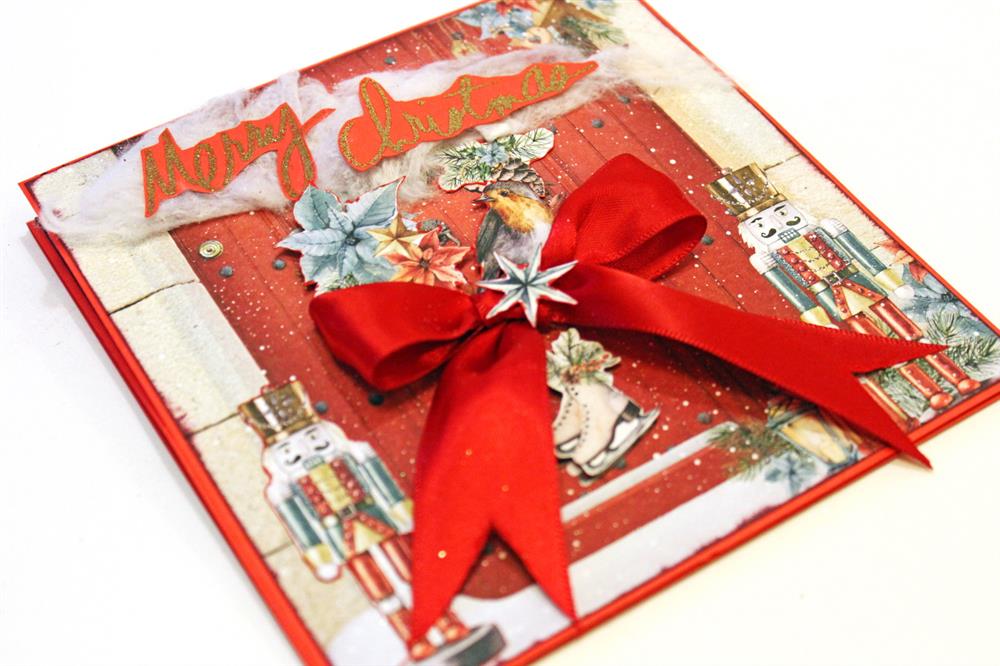
6. To make your wish more impressive, use the heat embossing technique. Stamp a piece of red card with the special transparent ink and sprinkle with the gold embossing powder. Shake the card to remove the extra dust and heat-emboss it with a craft heat gun.
Tip: The embossing powder comes in small packages because you actually only need a small amount for each project! When embossing, put a clean white paper under your project! Sprinkle your project well with the powder, shake it on the white paper to remove the excess, and what falls off put it back in its box for next time!
7. Stick some embellishments with dimensional stickers and some with glue. You can also create decorative clusters if you want to add more depth.
Tip: In scrapbooking, what gives visual interest to the craft is the so-called depth. Embellishments and ephemera are matched and set together to create smaller clusters within the composition. Try different shapes in complementary hues, set so that only a small part of each is visible. Don't be afraid to hide something behind something else. Even when a small edge is sticking out, that gives depth to your composition.
Materials
- Red Cardstock for the base
- Aleene's Tacky Glue suitable for paper
- Red ribbon
- Embossing powder
- Versamark Watermark embossing ink
- Dimensional stickers
Nicoleta used an older collection here - choose your favorite here and create!
Until next time!
Artistic kisses


