


As time goes by, we're getting ready for our summer holidays, and I imagine you are too!
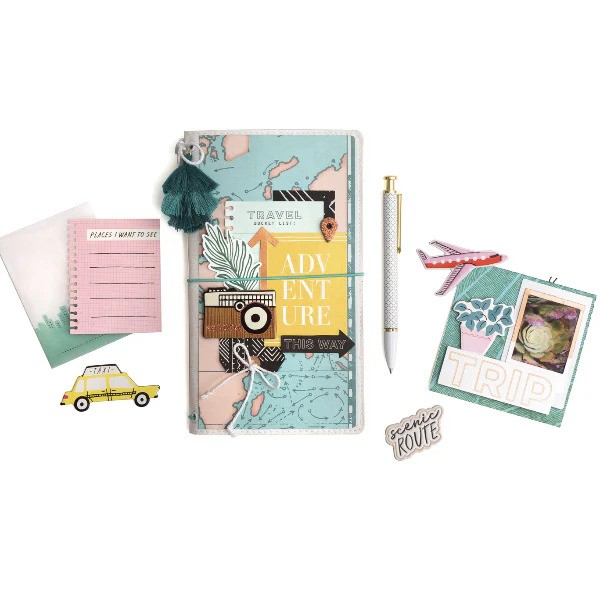
Whether you're planning an adventure to a nearby or distant destination, or simply want to keep notes and memories from your daily outings in the city before you leave, a traveler's notebook can become your best... crafting friend!
In this blog post, I'll show you how to create your own traveler's notebook with two inserts, an ideal accessory for your summer holidays.
By following simple steps, you will create a notebook that is both practical and stylish, ideal for jotting down thoughts, plans, and memories. Using materials you already have (or you can get them from us with just one click!), you can create a unique notebook that will accompany you on all your adventures.
Let's start making the perfect traveler's notebook for your summer holidays!
Materials:
- Your favorite scrapbooking paper: For the cover of your notebook. Choose a piece approximately 20x28 cm.
- Elastic Cord: To keep the notebook closed and hold the inserts in place. You will need about 1.5 meters.
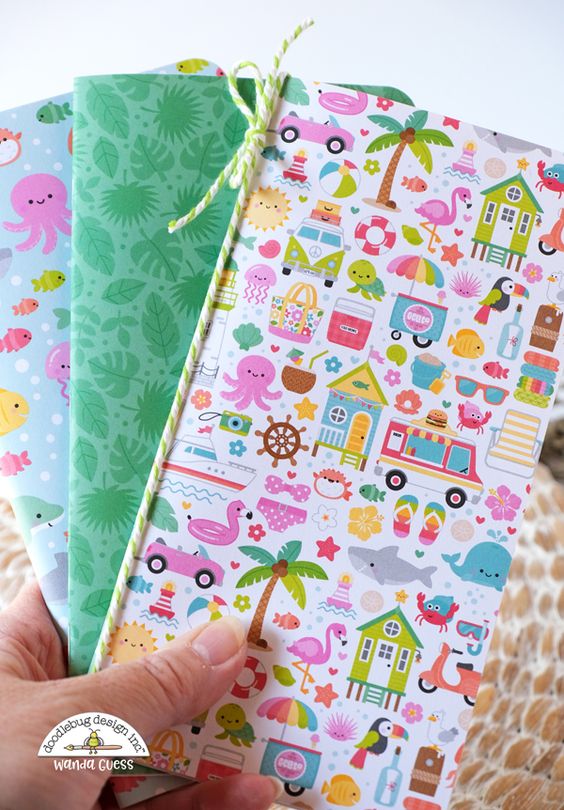
- Paper for the Inserts: You can use any paper you like (white, mixed media, etc.). 10-20 sheets for each insert should be fine.
- Button or Bead: For the closure (optional).
- Crop-a-Dile: To make holes in the cover for the cord and eyelets for extra stability!
- Bookbinding Kit: For stitching the inserts (alternatively, you can use staples).
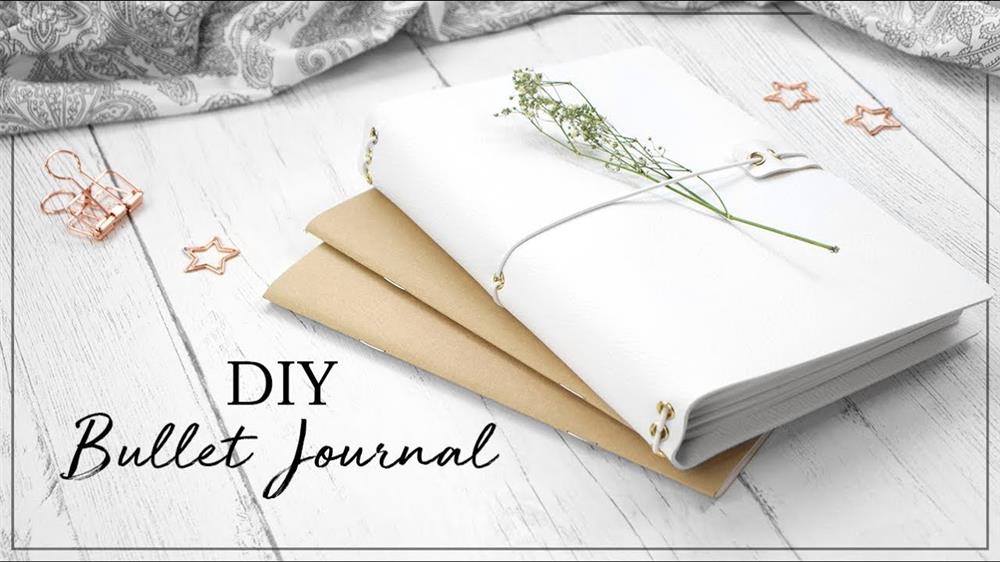
Step 1: Making the Cover
- Cut your paper to the desired size – you can use cardstock, leather, or even better, Kraft Tex. A good size is 8" x 11", so as to comfortably hold the inserts.
- Make two holes on the top and bottom of the cover, about 1 cm from the edge and in the center. These holes will be used for the band that will hold the inserts.
Step 2: Preparing the Elestic Cord
- Thread the elastic cord through the holes, creating two loops on the outer side of the cover. These loops will hold the inserts.
- Tie the elastic cord on the inside of the cover to keep it secure.
Step 3: Making the Inserts
- Fold the papers in half to create the interior of the inserts. Each insert will consist of folded sheets.
- To create the cover of each insert, cut paper or cardstock to the same dimensions as the folded sheets.
- Stitch the sheets and the cover together in the middle or use staples to keep them together.
Step 4: Closing the Notebook
- To create the notebook closure, make a hole in the center of the edge of the cover.
- Thread a piece of ribbon through the hole and tie it in a knot. Wrap the cover and tie it in a bow. You can add a charm or bead for a stylish touch!
- You can also choose to use elastic cord for the closure. In this case, measure how much you need to wrap the notebook tightly and simply tie a knot.
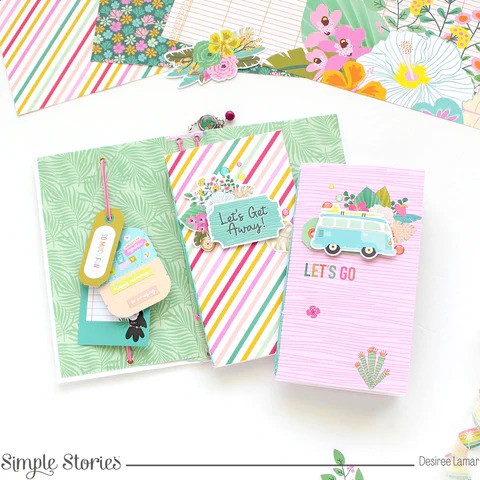
Creative Ideas:
- You can add pockets or pouches to the inside of the cover to store notes, maps, or tickets.
- Decorate the cover with stickers, designs, or drawings to make it more personal.
That's all for this week! I hope you enjoy the post and start to create your own notebook for your summer holidays! And trust me, you'll be addicted!
Until next time,
Artistic kisses!


