Stamp making is a creative and enjoyable process, especially when you use the right tools and materials.
Speedball products are well-known for their quality and are ideal to create professional stamps at a breeze!
Ready? You won't believe how easy this is...
Material Needed:
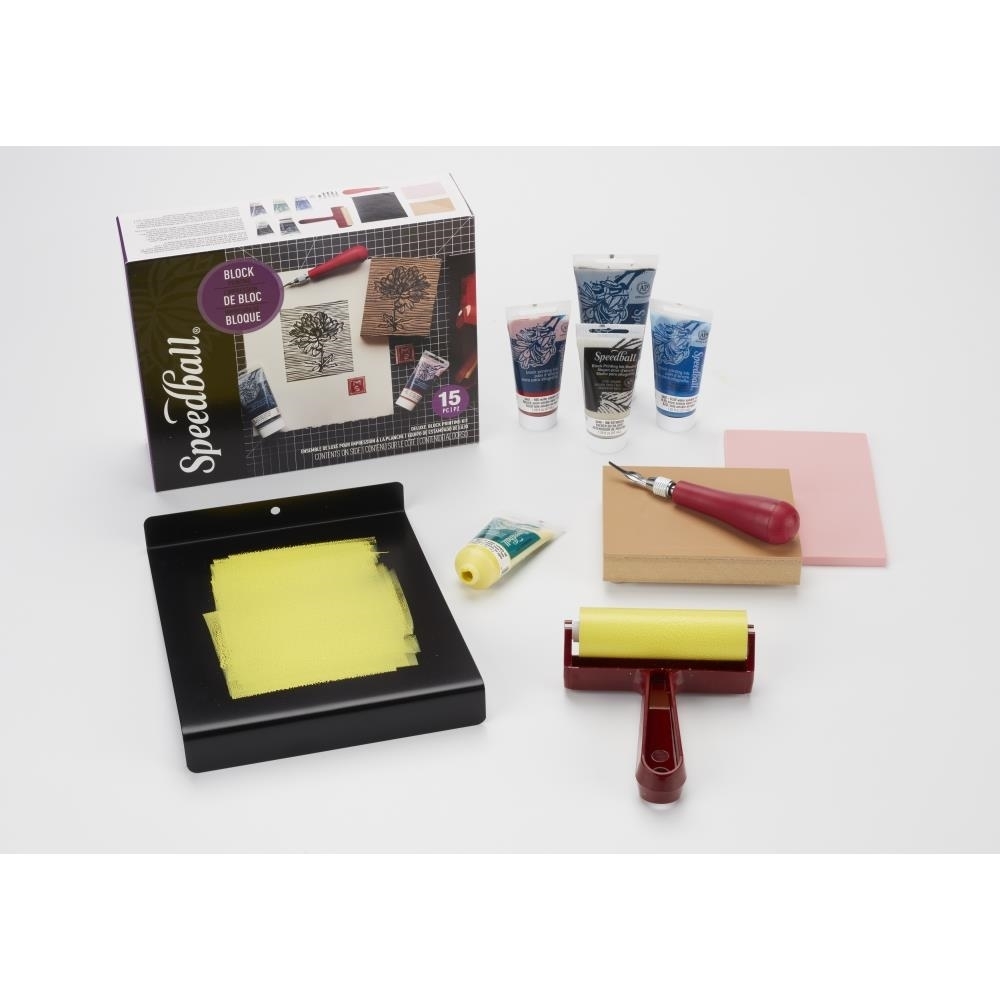
- Speedball block printing surfaces: These surfaces are soft and easy to carve, making them ideal for beginners, advanced users, and even children!
- Speedball block printing tools: A carving tool set including various tips for different types of lines and details.
- Speedball Stamp Ink: The ink provides consistent coverage and high-quality results with each application, and is perfect for use with linoleum, wood, and soft carving surfaces on paper.
- Brayer: A roller used to evenly apply ink to the stamp.
- Pencil and paper: For the initial design.

Step 1: Design Your Stamp
First, decide on the design you want to create. It could be anything from a simple geometric pattern to a complex logo. Start by sketching it on paper using a pencil.
Step 2: Transfer the Design to the Carving Surface
Once your design is complete, place it on the Speedball carving surface. Lightly press with your pencil to transfer the design onto the surface. You can also use tracing paper to make the transfer more precise.
Step 3: Carve the Block
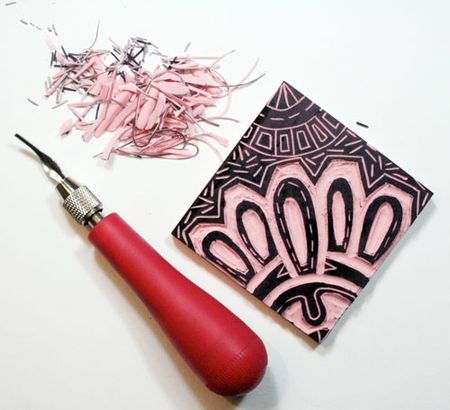
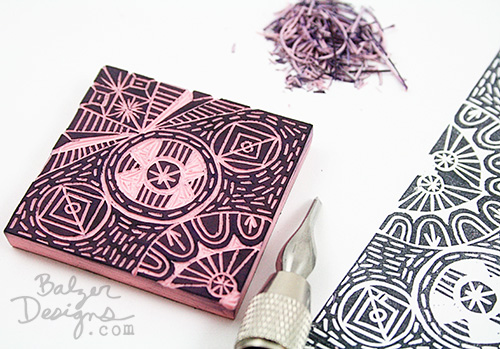
With the design transferred to the surface, use the Speedball carving tools to begin carving. Start with the outer lines of the design and work your way inward. Use different tips to achieve the desired texture and depth for your lines. Remember, the areas you carve away will not print on the paper, while the raised areas will create the impression.
Step 4: Apply Ink
After carving is complete, use the brayer to apply ink to the stamp. Ensure the ink is applied evenly to achieve a clean print.
Step 5: Test and Refine
Before using the stamp on your final project, test it on a piece of paper. This will help you see if any additional carving or adjustments are needed. If the print isn’t clean, you might need to remove more material from the block or apply more ink.
Step 6: Use and Maintain the Stamp
Your stamp is now ready for use! You can use it to decorate cards, invitations, or even fabric. After use, clean the stamp with mild soap and water to remove the ink and keep it in good condition for future use.


As you can see, stamp-making is a piece of cake!
It’s a creative process that allows you to express your imagination and create unique stamps.
With the right tools and a bit of patience, you can make stamps that you’ll use over and over again.
Ready? Now, it's your turn!
Good luck!
Artistic kisses!


